 how-to
Practical Workshop Skills for Automotive Students
Table of Contents
- Start With Automotive Workshop Safety Before Anything Else
- Set Up Your Automotive Tools for Students Kit
- Build Hands-On Automotive Training Into Every Week
- Core Practical Workshop Skills to Practise in Order
- How to Develop Vehicle Diagnostic Skills and Fault-Finding
- Common Beginner Mistakes and How to Troubleshoot Them
- How to Measure Your Competency and Track Progress
- Frequently Asked Questions
Last Updated: October 7, 2026
Start With Automotive Workshop Safety Before Anything Else
Safety comes first in every workshop, and it is the foundation of all practical workshop skills for automotive students. At Swann College, we teach safety before we hand anyone a spanner.
A workshop is a busy place. Cars, tools, fluids and electricity all share the same space. One careless moment can cause a serious injury.
So before you touch a vehicle, learn these basics:
- Wear safety glasses, gloves and steel-capped boots
- Tie back long hair and remove loose jewellery
- Check that jacks stands are rated for the vehicle's weight
The most common mistake we see is students rushing. Slow down and follow each step.
Set Up Your Automotive Tools for Students Kit
A good starter kit covers most jobs you will meet in your first year. You do not need to buy everything at once.
Start with the basics, then add tools as your skills grow.
| Tool Category | What to Include | Why It Matters |
|---|---|---|
| Hand tools | Socket set, spanners, screwdrivers, pliers | Daily use on almost every job |
| Power tools | Impact wrench, drill, grinder | Faster work on stubborn parts |
| Measuring | Vernier calipers, feeler gauges, multimeter | Accurate inspection and testing |
| Safety gear | Glasses, gloves, boots, ear protection | Protects you on every task |
| Support | Trolley jack, jack stands, wheel chocks | Lifts and holds vehicles safely |
Buy quality hand tools first. Cheap sockets round off bolts and cost you time.
Build Hands-On Automotive Training Into Every Week
Hands-on automotive training works best when it becomes a habit, not a once-a-month event. Set aside regular workshop time and treat it like any other class.
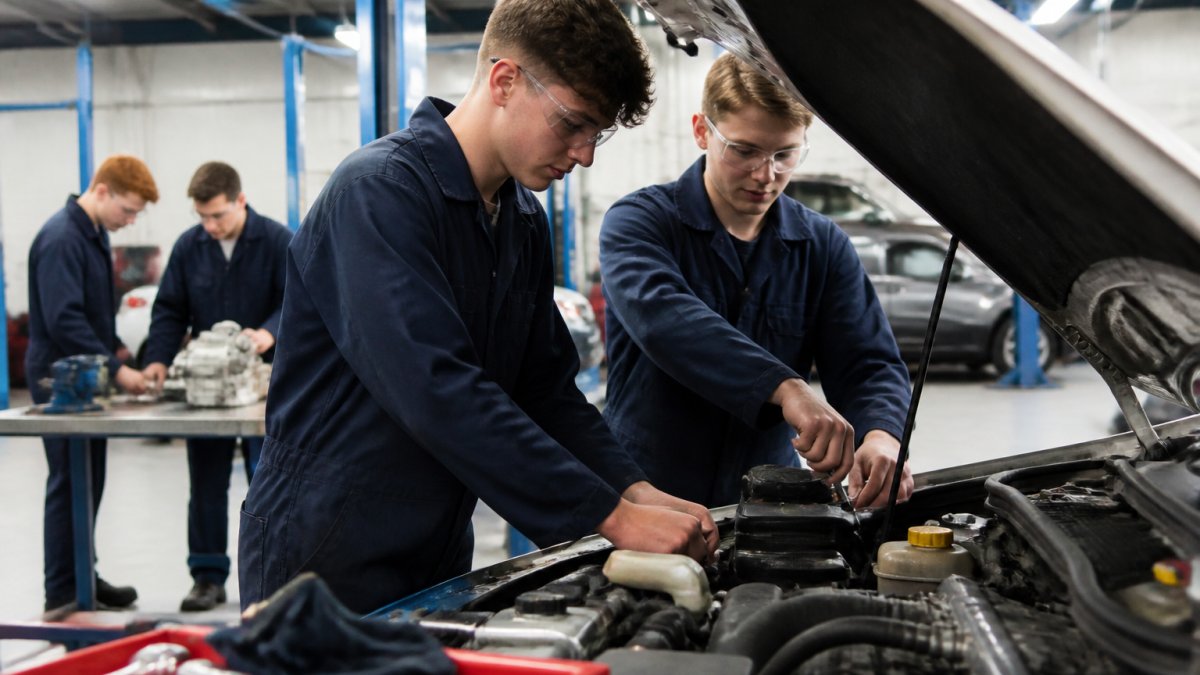
A simple weekly plan looks like this:
- Two short sessions for theory and reading
- One longer session for practical work on a vehicle
- One review session to check what you learned
A common mistake is spending all your time watching videos. Watching helps, but your hands learn by doing. Ask your trainer to watch you complete a task and give feedback.
Core Practical Workshop Skills to Practise in Order
Skills build on each other. Learn them in the right order and everything gets easier. The sequence below is the one most workshops expect a first-year student to follow. Treat each stage as a gate: do not move on until you can complete the stage unaided, safely, and to the manufacturer's specification.
Stage 1, Workshop foundations (first few weeks)
Before you touch a customer vehicle, you need to be safe and organised.
- Identify and use personal protective equipment correctly: safety glasses, nitrile gloves, steel-capped boots, hearing protection when using air tools or grinders
- Lift a vehicle properly: position the trolley jack on a rated jacking point, raise it, lower it onto rated jack stands, and give the vehicle a firm nudge before going underneath
- Use hand tools correctly: choose the right socket size, pull rather than push a breaker bar, and never use a cheater bar on a ratchet
A common pattern is students who can name the tools but cannot yet use them without damaging fasteners. Practise on a scrap hub or a bench vice before you work on a real vehicle.
Stage 2, Routine servicing (first few months)
Servicing is the work every workshop does every day, and it is where you build speed and consistency.
- Engine oil and filter change: drain, replace the sump plug washer, torque the plug to spec, refill to the correct grade and check the level on the dipstick
- Fluid checks and top-ups: coolant, brake fluid, power steering, washer fluid, and differential or transmission fluid where applicable
- Tyre inspection: tread depth (legal minimum is 1.5 mm across the tread), sidewall condition, and correct pressures, check them cold
- Brake inspection: pad thickness, disc condition, and brake fluid moisture content
Once you can complete a full service without help, and document it, you are ready for repairs.
Stage 3, Repairs and component replacement (months three to six)
Repairs teach you how components fit together and how they fail.
- Brake pads and discs: compress the caliper piston correctly, clean and lubricate the slide pins, and bed the pads in
- Drive belts and hoses: check tension, routing and condition, and replace rather than patch
- Suspension and steering: inspect bushes, ball joints, tie rod ends and shock absorbers for play and leaks
- Cooling system: pressure-test the system, find leaks, and bleed air from the system after refilling
Start on older vehicles where parts are cheap and access is easier. Move to newer vehicles once your technique is reliable.
Stage 4, Vehicle systems and inspection (months six to twelve)
Understanding how systems work together makes fault-finding much faster. Learn the engine, brakes, suspension, steering, electrical and cooling systems as connected systems, not isolated parts.
Practise inspecting each system in a set order:
- Look for leaks, wear and damage
- Test with the right tool
- Compare results to the manufacturer's specifications
- Record what you find
A common mistake is skipping the inspection step. Many faults are visible before they cause a breakdown.
Stage 5, Diagnostics and modern vehicle systems (second year and beyond)
Modern vehicles rely on electronic control units, sensors and scan tools. Learn to read fault codes, then confirm the fault with testing. A code points you in a direction, but it does not always name the failed part.
- Use a scan tool to read and clear codes, and to view live data
- Test circuits with a multimeter: voltage, resistance and continuity
- Understand sensor types: oxygen, mass airflow, crankshaft position, wheel speed and temperature sensors
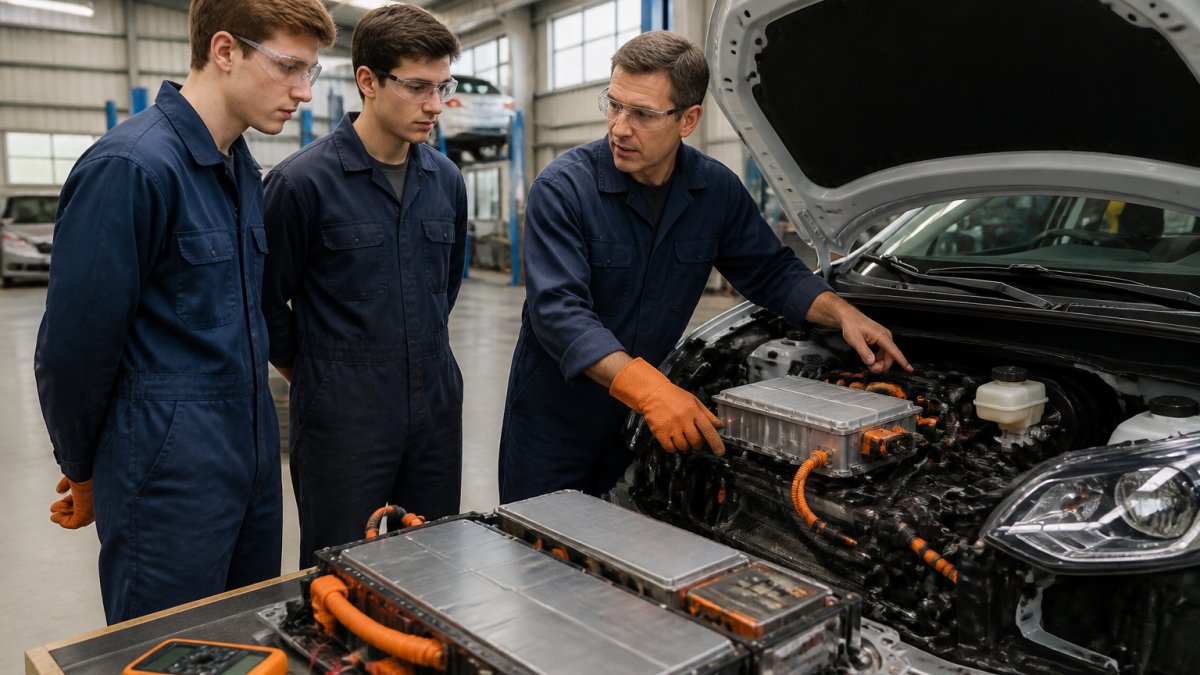
- Know the precautions for hybrid and electric vehicles: high-voltage cables are orange, the system must be isolated before work, and only trained personnel should touch high-voltage components
How to Develop Vehicle Diagnostic Skills and Fault-Finding
Vehicle diagnostic skills come from practice, not memorisation. The more faults you solve, the faster you get.
Modern cars rely on electronic control units and scan tools. Learn to read fault codes, then confirm the fault with testing. A code points you in a direction, but it does not always name the failed part.
Follow this order every time:
- Confirm the customer's complaint
- Scan for fault codes
- Test the circuit or component
- Repair the cause, not the symptom
Common Beginner Mistakes and How to Troubleshoot Them
Most beginner problems come from a handful of habits. Fix these early and your work improves fast. The table below adds the mechanism, why the mistake happens, and the corrective step, so you can troubleshoot rather than just avoid.
| Mistake | Why It Happens | Corrective Step | Impact |
|---|---|---|---|
| Overtightening bolts | No torque wrench, or "tight is tight" habit | Use a calibrated torque wrench and the manufacturer's torque figure; if a thread strips, helicoil or replace the fastener | Prevents stripped threads and snapped studs |
| Skipping safety checks | Rushing, or assuming the last person did it | Follow a pre-start checklist every time: jack stands rated, wheels chocked, battery isolated for electrical work | Avoids injuries and vehicle damage |
| Guessing at faults | Jumping to a known-failure part without testing | Test before replacing: confirm power, ground and signal at the component; a code is a clue, not a diagnosis | Saves time and money on unnecessary parts |
| Poor tool care | Leaving tools on the floor or in the engine bay | Clean and store tools daily; wipe off oil and coolant; check torque wrenches are wound back to zero | Tools last longer and stay accurate |
| Not asking for help | Pride, or not wanting to look inexperienced | Speak up early; ask a trainer to watch you complete a task and give feedback | Learn faster and avoid bad habits |
| Working alone on a two-person job | Underestimating the weight or risk | Ask for a hand when lifting, holding or guiding components | Prevents strains and dropped parts |
| Cross-threading a fastener | Starting a bolt by hand at an angle | Start every bolt by hand for the first few threads, then use a tool | Prevents damaged threads and leaks |
| Reusing single-use fasteners | Not knowing which fasteners are torque-to-yield | Check the service information; replace stretch bolts, gaskets and seals as specified | Prevents comebacks and failures |
A simple troubleshooting workflow
When a job goes wrong, work through this order rather than guessing:
- Stop and make the area safe, isolate power, lower the vehicle, or clean the spill
- Identify the symptom precisely, what did you see, hear, smell or feel?
- Check the simplest causes first, loose connection, blown fuse, low fluid, incorrect tool
- Test the circuit or component with the right instrument
- Repair the cause, not the symptom
- Re-test to confirm the fix, and document what you did
How to Measure Your Competency and Track Progress
Competency means you can complete a task to industry standard, safely and without help. Track it honestly.
Use a simple logbook:
- Task name and date
- Tools used
- Time taken
- Trainer sign-off
Review your log every month. If a task still feels hard, practise it again.
At Swann College, our trainers assess students against nationally accredited units. Our curriculum is developed in association with the Institute of Automotive Mechanical Engineers, so training stays aligned with current industry practice.
Frequently Asked Questions
What skills does an automotive technician need?
Automotive technicians need a mix of practical and diagnostic skills. Core competencies include servicing and repairs, fault-finding on electrical and mechanical systems, tyre fitting, brake and suspension work, and using hand and power tools safely. Reading wiring diagrams, interpreting scan tool data, and documenting jobs accurately matter just as much. Employers also value reliability, communication and the ability to work within a team. Nationally accredited courses such as Certificate II and Certificate III in Light Vehicle Mechanical Technology cover these areas and build the foundation employers expect from work-ready graduates.
How can automotive students gain practical workshop experience?
Enrol in hands-on automotive training that puts you in a real workshop environment rather than online-only theory. Look for courses delivered in training facilities that mirror actual workplaces, with access to hoists, diagnostic equipment and a range of vehicles. Outside formal study, practise basic servicing on your own or a family vehicle under supervision, volunteer at a local workshop, and complete small jobs like oil changes, tyre rotations and brake inspections repeatedly until they become second nature. Repetition on real vehicles builds the muscle memory that employers look for.
What safety skills should automotive students learn first?
Start with automotive workshop safety fundamentals: correct use of personal protective equipment, safe vehicle lifting and jack stand placement, fire extinguisher locations and types, and safe handling of fluids, batteries and air conditioning refrigerants. Learn to identify hazards before starting a job, isolate energy sources, and keep walkways and work areas clear. Familiarity with safety data sheets and workplace emergency procedures is essential. These habits protect you and everyone around you, and they are assessed in every nationally accredited automotive course.
How do students practise vehicle diagnostics in a workshop?
Begin with a structured diagnostic workflow: confirm the customer concern, gather information, inspect visually, then test systematically rather than guessing. Use scan tools to read fault codes, but always verify the code against live data and physical inspection. Practise on vehicles with known faults so you can compare symptoms to outcomes. Work through electrical, fuel, ignition and mechanical systems one at a time. Documenting each step and the result builds the fault-finding discipline that separates competent technicians from parts-swappers.
Learning practical workshop skills for automotive students takes time, patience and plenty of hands-on practice. Swann College helps you build those skills in a real workshop setting, with nationally accredited courses and trainers who work in the trade. Our campuses offer easy public transport access and a supportive learning environment. Get started with Swann College and build the practical skills that employers look for.